
Pro Driver Stand Locking Bolt Modification#
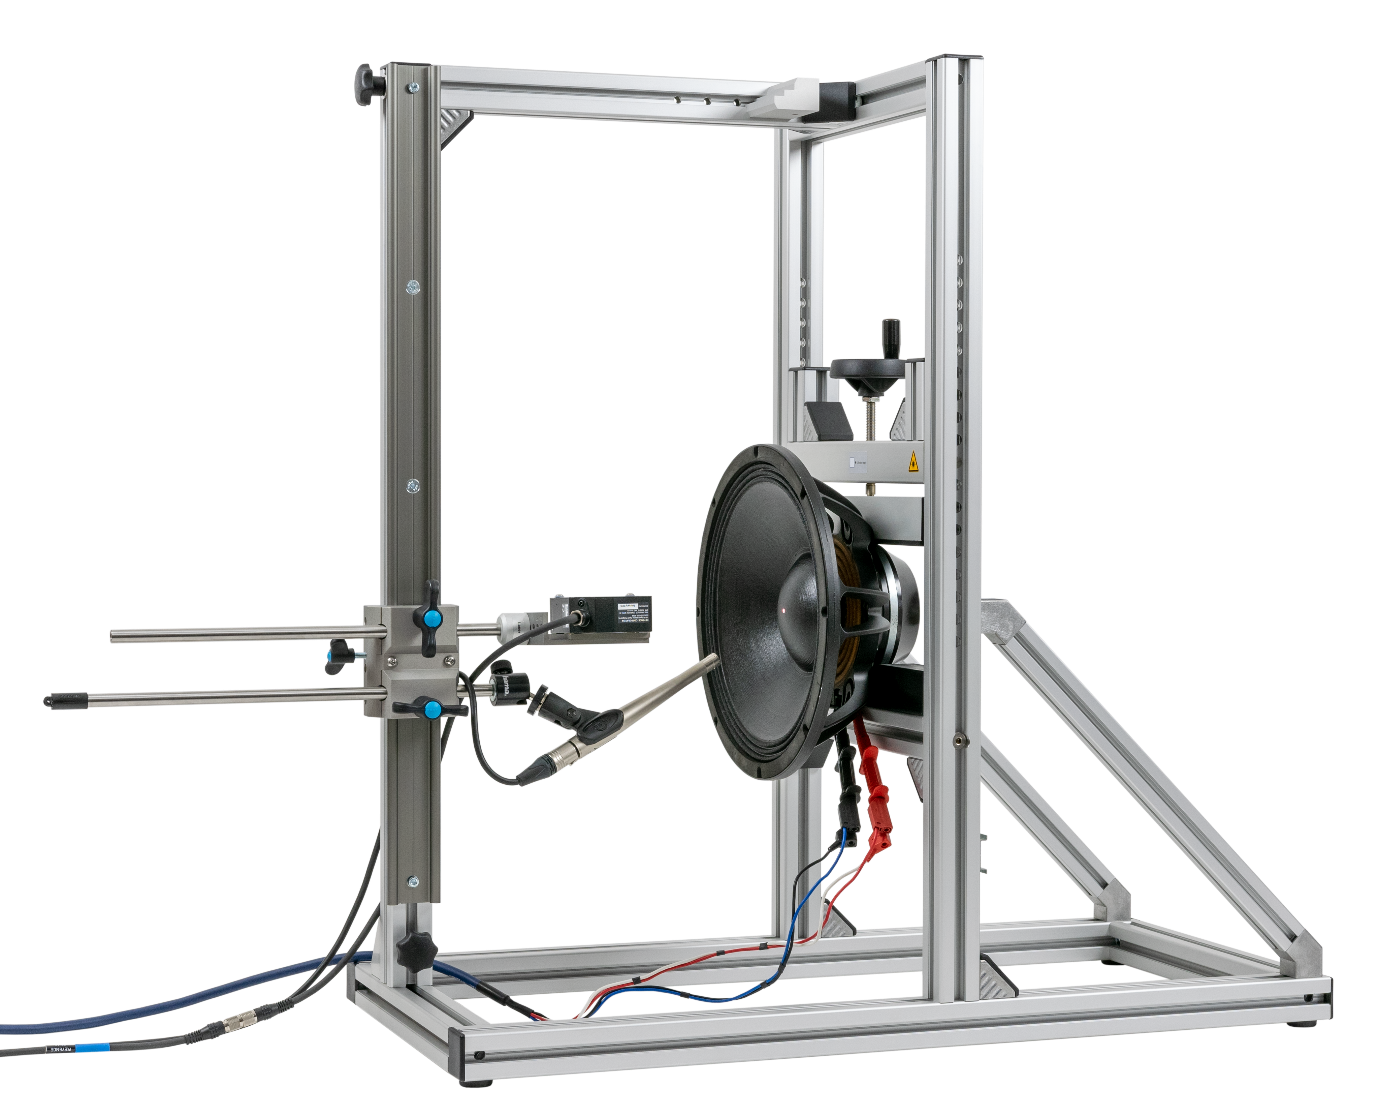
Bill of Material#
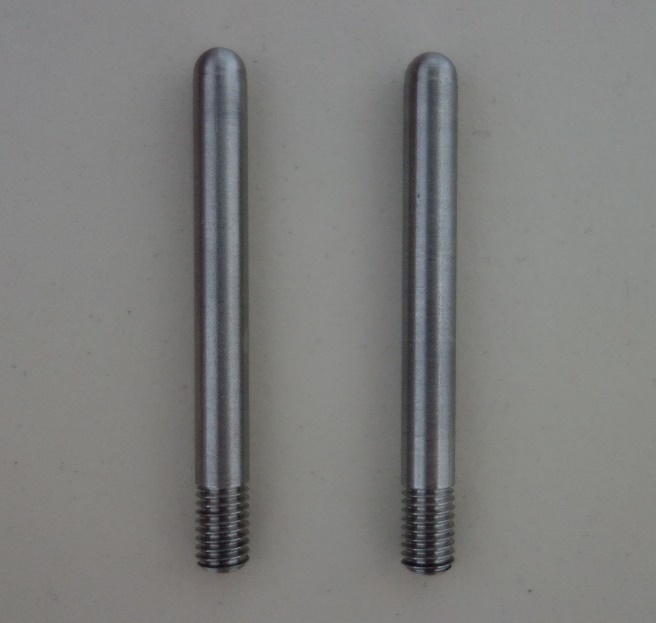
2 retaining pins
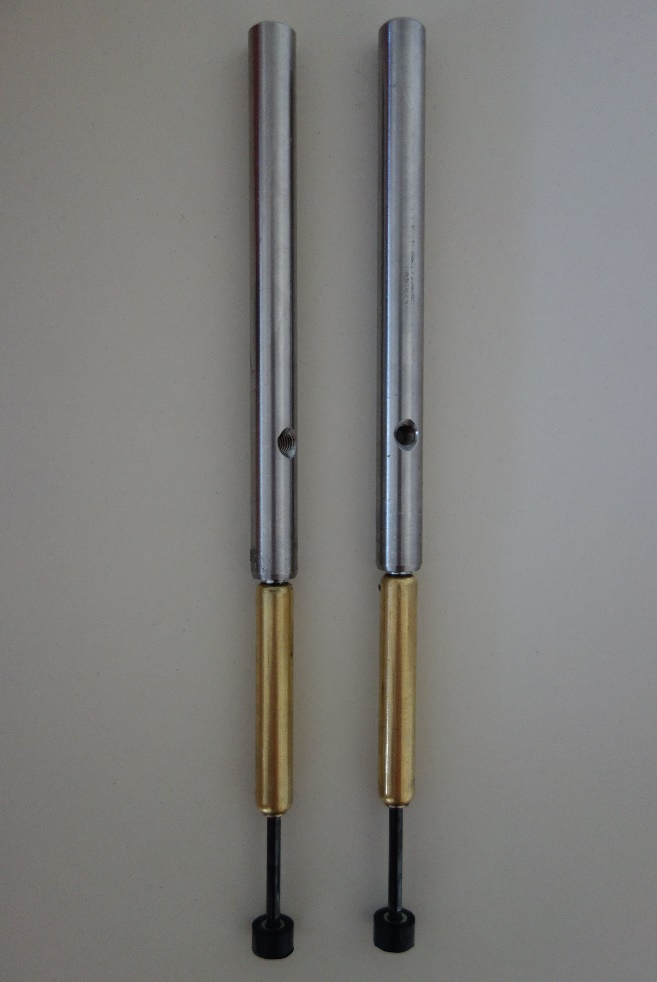
2 locking bolts (with gas spring)
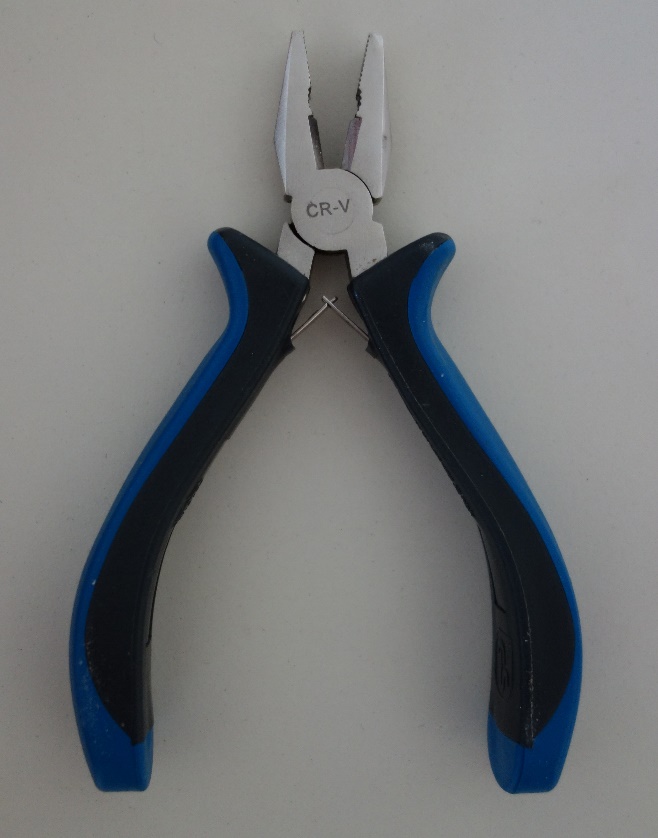
Pliers (not included, needed for unmounting old bolts)
Thread-locking fluid Recommended
Mounting Guide#
Remove old locking bolt#
- Move the Upper Clamp to the bottomThe locking bolts have to engage
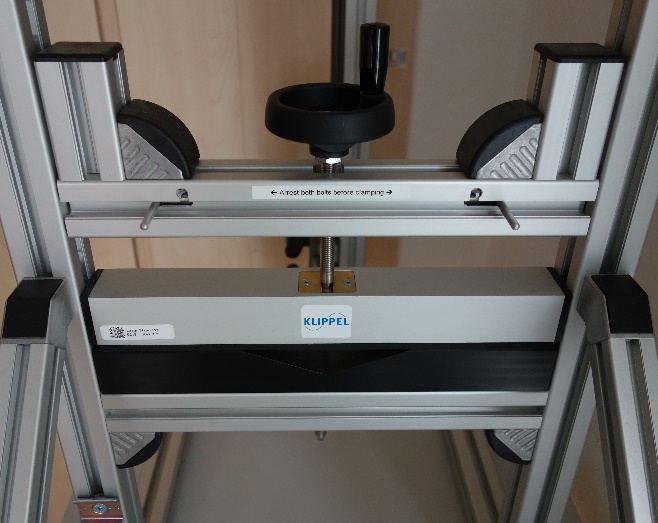
- Unloose the Upper Clamp
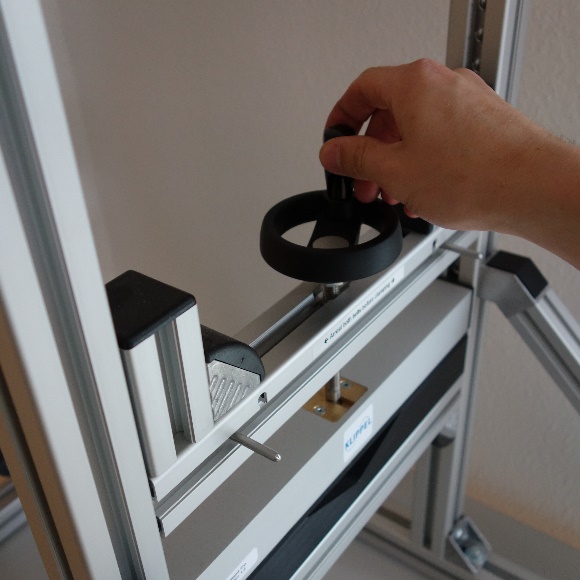
- Use pliers to unloose and remove the retaining pinThe pins are stucked tight, therefore force is neededBe careful not to break the pin by tilting the pliers to much to one side
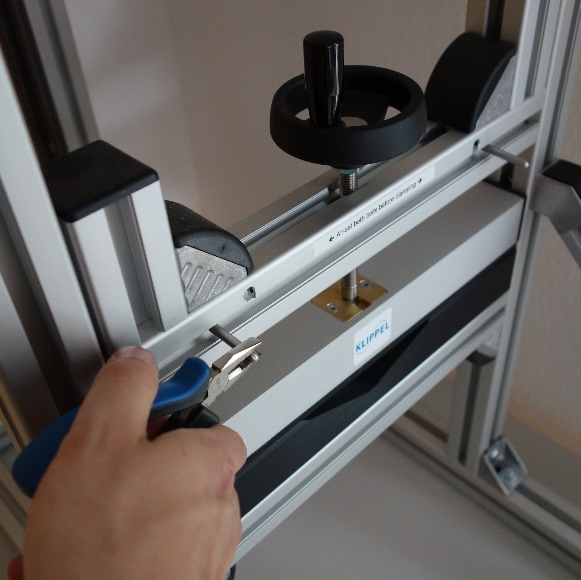
- Tilt the Pro Stand to one side to remove the locking bolt and the springShake the Upper Clamp if either the locking bolt or the spring is stucked
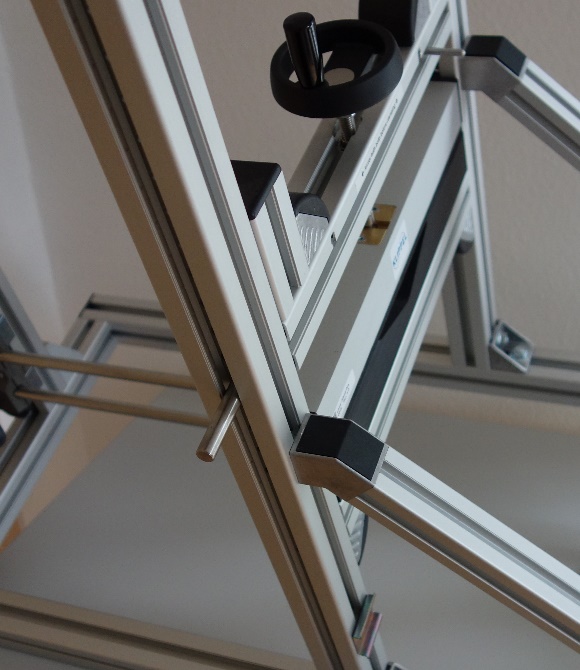
- These are the old locking bolt and the old spring
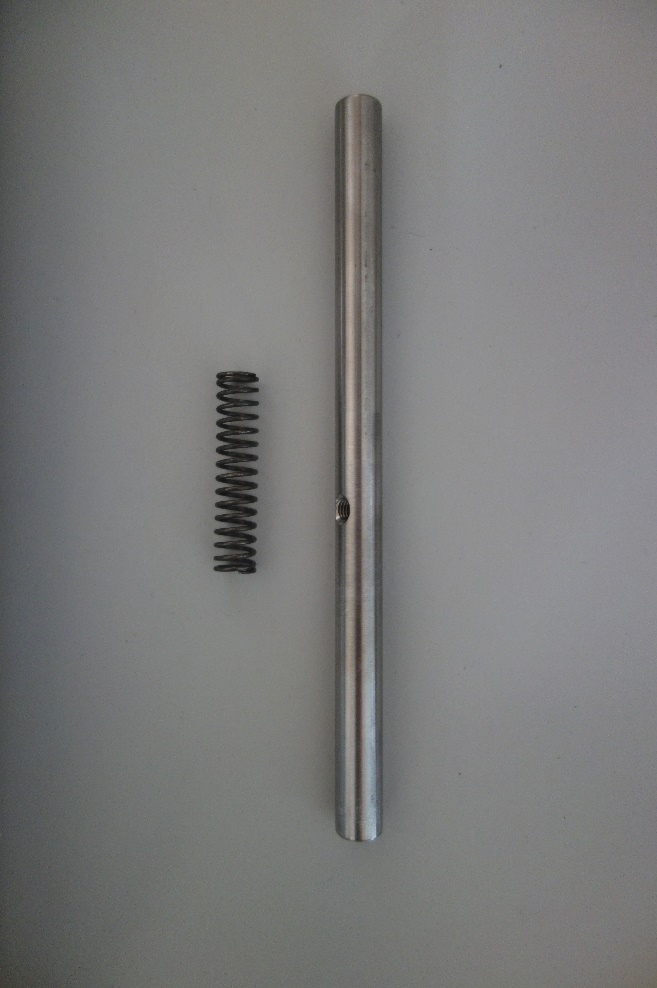
- Before you remove the locking on the other side, mount the first new locking bolt
Mount new locking bolt#
- Before you mount the new parts you should clean the Upper Clamp from any wear of friction.Use e.g. some alcohol based industrial cleaning spray and spray it into the opening for the locking bolt until only clean fluid comes back out of it.Let it dry before you mount the new parts.A pipe cleaner if available could be helpful as well.
- Insert the locking bolt into the fifth hole from bottom
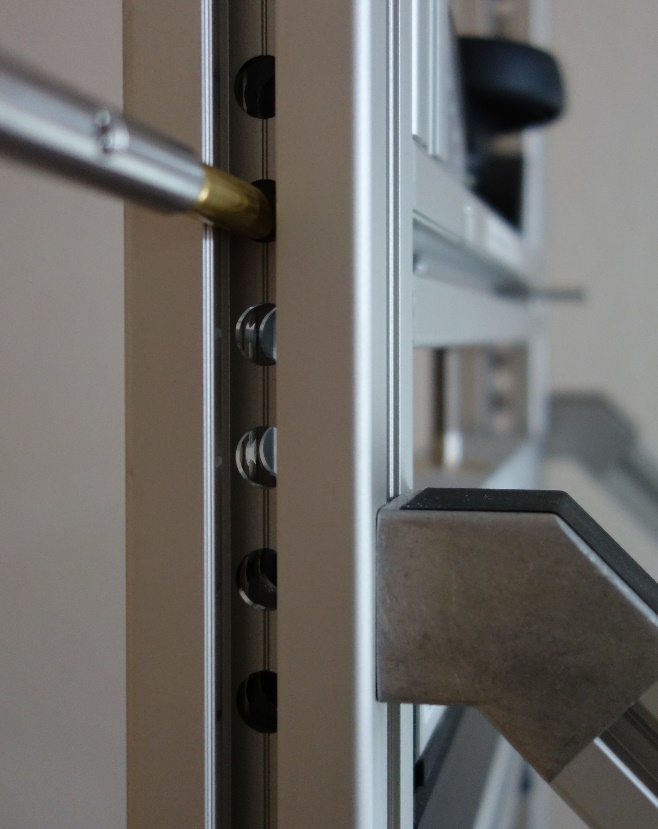
- Turn the thread hole to the front
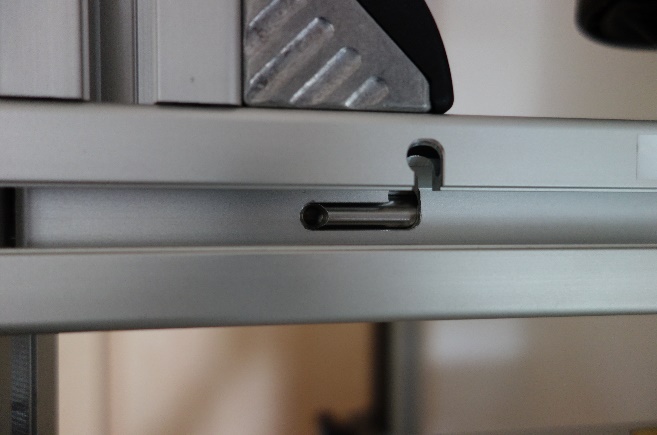
- Recommended: Apply thread-locking fluid on the retaining pins
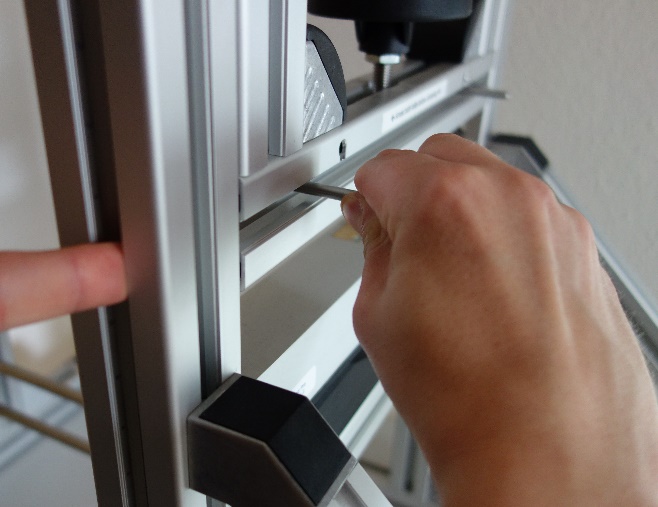
- Press the locking bolt into the Upper Clamp and screw in the retaining pin
- Repeat the same for the other side
Function Test#
- Unloose the retaining pins
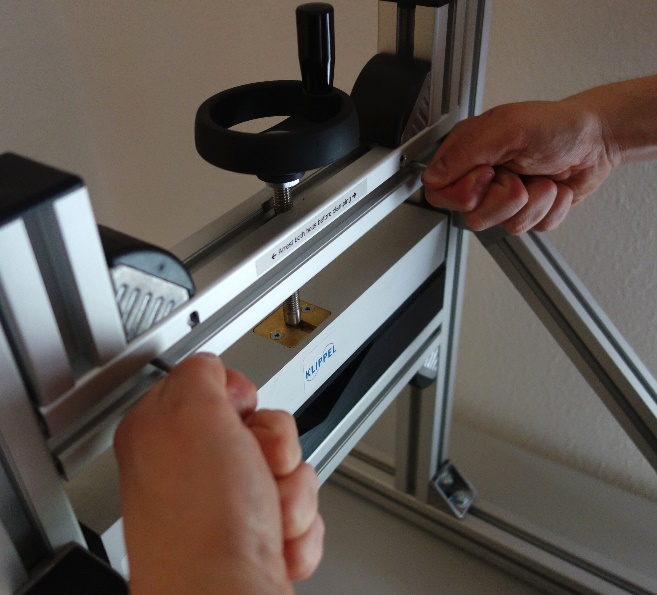
- The locking bolts have to move smoothly
- Move the Upper Clamp up and down
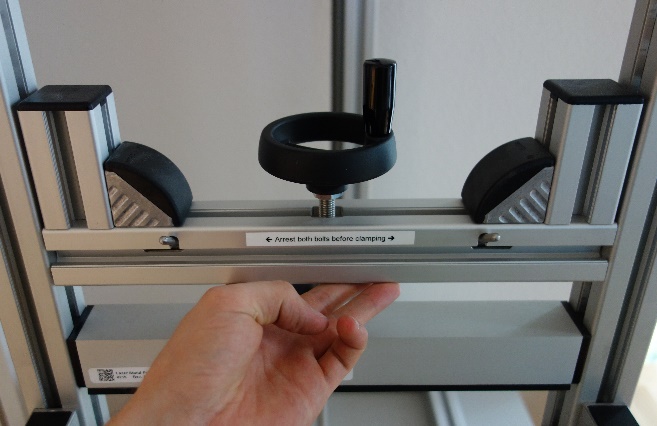
- Release the retaining pin
- The locking bolts have to engage smooth
